vCollection Help
iOS (using on iPhone and iPad)
Mac, PC (using under macOS and Windows)
Recover data from a backup
Using vCollection
If you need to reinstall vCollection, you can recover your previous data using the menu File > Import from backup. A dialog window will prompt you to locate one of the vCollection.vcl backup files that are by default saved in Documents (see screenshot below). If in Settings you specified another folder for automatic backups (see the previous chapter), your last 5 backups should be saved there.

Using Finder (macOS) or Desktop (Windows)
Data recovery can be done using Finder or Desktop, by "physically" replacing the current file vCollection.vcl with one of the previously saved files.
This operation can not be done if vCollection is running. Quit the app using the menu vCollection > Quit vCollection or using the keyboard shortcut Cmd + Q (macOS) or Ctrl + Q (Windows).
-
1. First, locate the backup file vCollection_x.vcl (there should be a number from 1 to 5 in place of x). Backup files should be saved in Documents or in the folder you have defined in vCollection's Settings (see the previous chapter).
-
2. Locate the vCollection folder on your computer. It should be in Applications on macOS or in Documents on Windows.
-
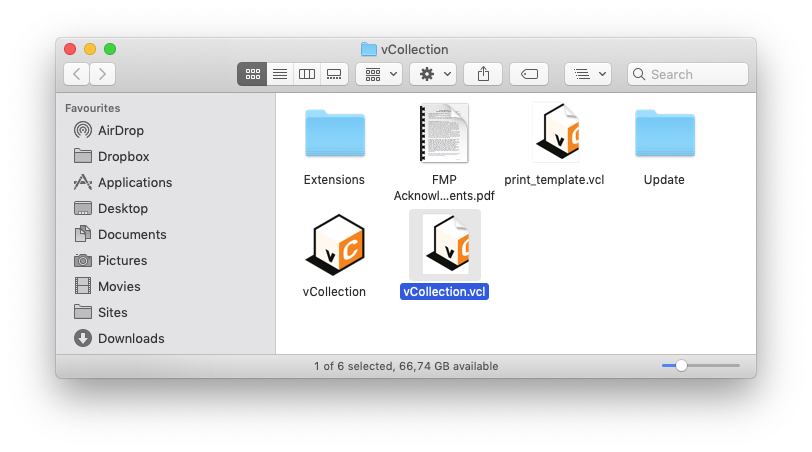
3. Open the vCollection folder with a double-click (see the screenshot below).
-
4. Inside this folder, you will find a file named vCollection.vcl. This is the file that contains the data registered in vCollection. It is also the file which will have to be replaced by the backup file.
-
5. Send vCollection.vcl to Trash or drag it outside the vCollection folder.
-
6. Drag and drop or copy and paste the backup file vCollection_x.vcl, that you located in step 1, to the vCollection folder.
-
7. IMPORTANT : Rename vCollection_x.vcl to vCollection.vcl in order for the app to recognise it. Launch vCollection, and your previously saved data will appear.