vBook Help
- Introduction
- System requirements
- Installation and launch
- Purchase and activation
- Interface and navigation
- Customization
Basic features
Modules
Advanced features
www.zoftware.netTroubleshooting
Important: If you observe unexpected behavior that you believe to be a dysfunction, relaunch vBook or restart your computer if necessary. If the problem persists, please contact us to let us know about the problem.
Slow execution
Check and reduce images size
If you notice a certain slowness in the execution of some operations, especially in Artworks, first check the weight and dimensions of your images. To do this:
Display Works.
Go to Images > Find Images by Size in the menu bar.
In the dialog window Find, enter 1000 (for 1000 Ko = 1Mo) to search for images with a weight larger than 1 Mo and click . It is often unnecessary to store images larger than 1 MB. Images around 300 KB are adequate for most purposes. For more information on this, see the chapter on image preparation.
If vBook finds records with images larger than 1MB, scroll through them and review their descriptions* at the bottom of the image section. Also check the images in tabs 2 and 3.
* If the descriptions below the images are not displayed, go to User Settings and enable the option Show images descriptions. You can get more information about an image by selecting it and pressing cmd+i (macOS) or ctrl+i (Windows). The information about the type of importation (embeded or external) will also be shown, at the end of the list.Reduce the size of images either one by one going to Images > Reduce Image Size, or the whole found set choosing Reduce the Size of All Images.
You can also choose to automatically resize inserted images.
Check RAM and the hard drive
It is also possible that your computer shows a certain "fatigue" after a long period of activity, which can come from a lack of RAM memory. If it happens, quit open applications and restart vBook. Adding more memory would also be a solution.
The same problem may be due to an overfull hard drive, in which case it would be necessary to do some cleaning and delete or move unused files elsewhere.
Activation problem
If you are unable to activate vBook after purchasing (the application asks for activation codes every time you launch it), or you notice that vBook is not saving changes you made, you need to make sure that you are logged in to your computer with an administrator account. Check also the permissions of the vBook_db.vb5 file (this is the file that contains your data).
macOS
Quit vBook if it’s open.
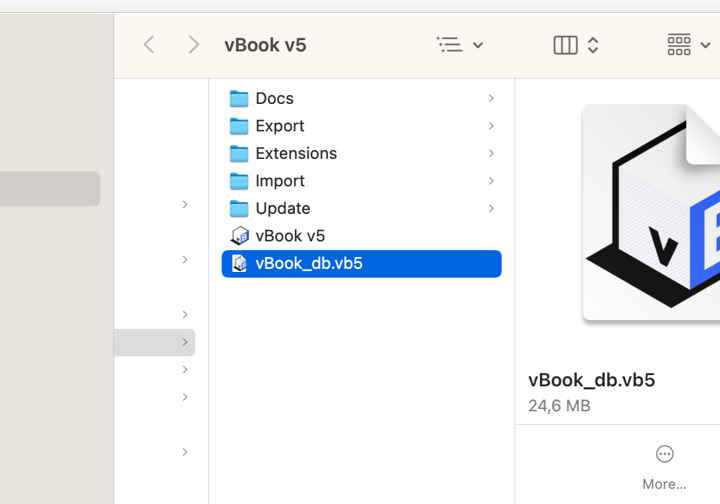
Go to the folder where vBook is installed. By default vBook installs in Applications/vBook v5.
Open vBook v5 folder and find the file vBook_bd.vb5 (see the screen capture 2 below).
Tip for using: Maintain the click on the vBook icon in the Dock to reveal Options > Show in Finder (see screenshot 1 below).

Right-click on vBook_db.vb5 and choose .
Check if you have read and write privileges in the section Sharing & Permissions. If not, you need to set up the privilege for (your account (Me) in Read & Write.
To change the privileges, you may need to click on the padlock at the right bottom of the window vBook_db.vb5 Info and enter your computer account password (different from your vBook account password).

Windows
Quit vBook if it is open.
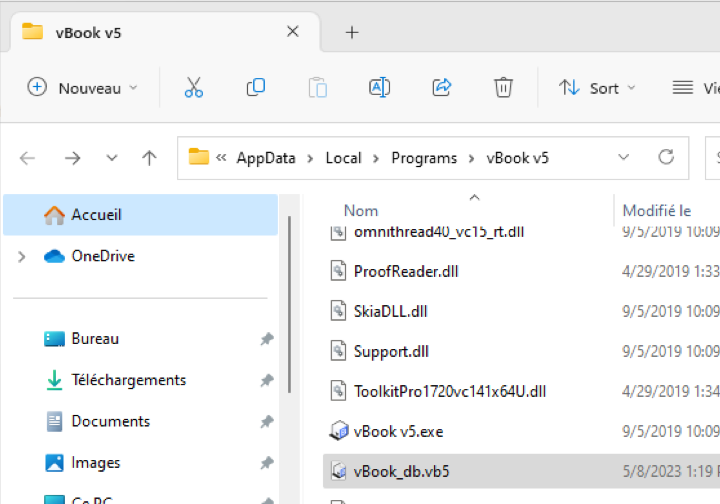
Go to the folder where vBook is installed. vBook installs by default in C:\Users\Uranos\AppData\Local\Programs\vBook v5\ (see screenshot 1 below).
Open vBook v5 folder and find the file vBook_bd.vb5 (see the screen capture 2 below).
Right-click on vBook_db.vb5 and choose .
Open the tab and click on your username in the section Group or user names.
Under the section Permissions for Authenticated Users, you should have the permissions Read & Write. If it's not the case, you need to edit the permissions and allow the computer to read and write in your database file.
Backup or update problem on Windows 7, 8 and 10 if vBook is installed in the Programs directory
Since Windows Vista, Microsoft has implemented rigorous security measures using UAC (User Account Control) system and Virtualization to protect files and directories. Virtualization of system directories is managed by access rights; normal user has no write access to Program Files directory. When you launch vBook, Vista moves the vBook database to a directory managed by its Virtualization system. vBook seems to work correctly, but if you are updating or replacing its database, it is still the old version that will be launched. To solve this problem, disable UAC via control Panel:
Open vBook.
Go to File > Save a Copy as... in the menu bar
Choose the name and location for the new copy and click .
Quit vBook.
Go to Start > Control Panel > User Accounts In the click to unselect the . Click and restart your computer.
Launch vBook and run an import action from File > Import Records .., Module name: Source: .
Click and select the copy you saved in step 3.
Click to begin importing data from the copy.
If you do not want to disable the UAC security system, you need to reinstall vBook in a different directory than Programs:
Open vBook.
Go to File > Save a Copy as... in the menu bar.
Choose the name and location for the new copy and click .
Uninstall vBook (see the chapter Installation and launch).
Reinstall it choosing a directory other than C:/Programs.
Launch vBook and run an import action from File > Import Records .., Module name: Source: .
Click and select the copy you saved in step 3. Click to complete the import.
Damaged database file
Sometimes, often due to a power cut or hardware failure, vBook will inform you that the database is corrupted and cannot be opened. This is a very rare case, but if it happens, follow the recovery procedure explained in the chapter Backup and restore.
Print issues
If the printed page does not match what is displayed in the mode, the Records being browsed option should be selected in the dialog window. This is the last dialog window before printing (or saving as PDF).
Optimize the overall weight of the database
Replacing the database file from time to time with a compressed copy reduces, often significantly, its size. Here is the procedure to follow:
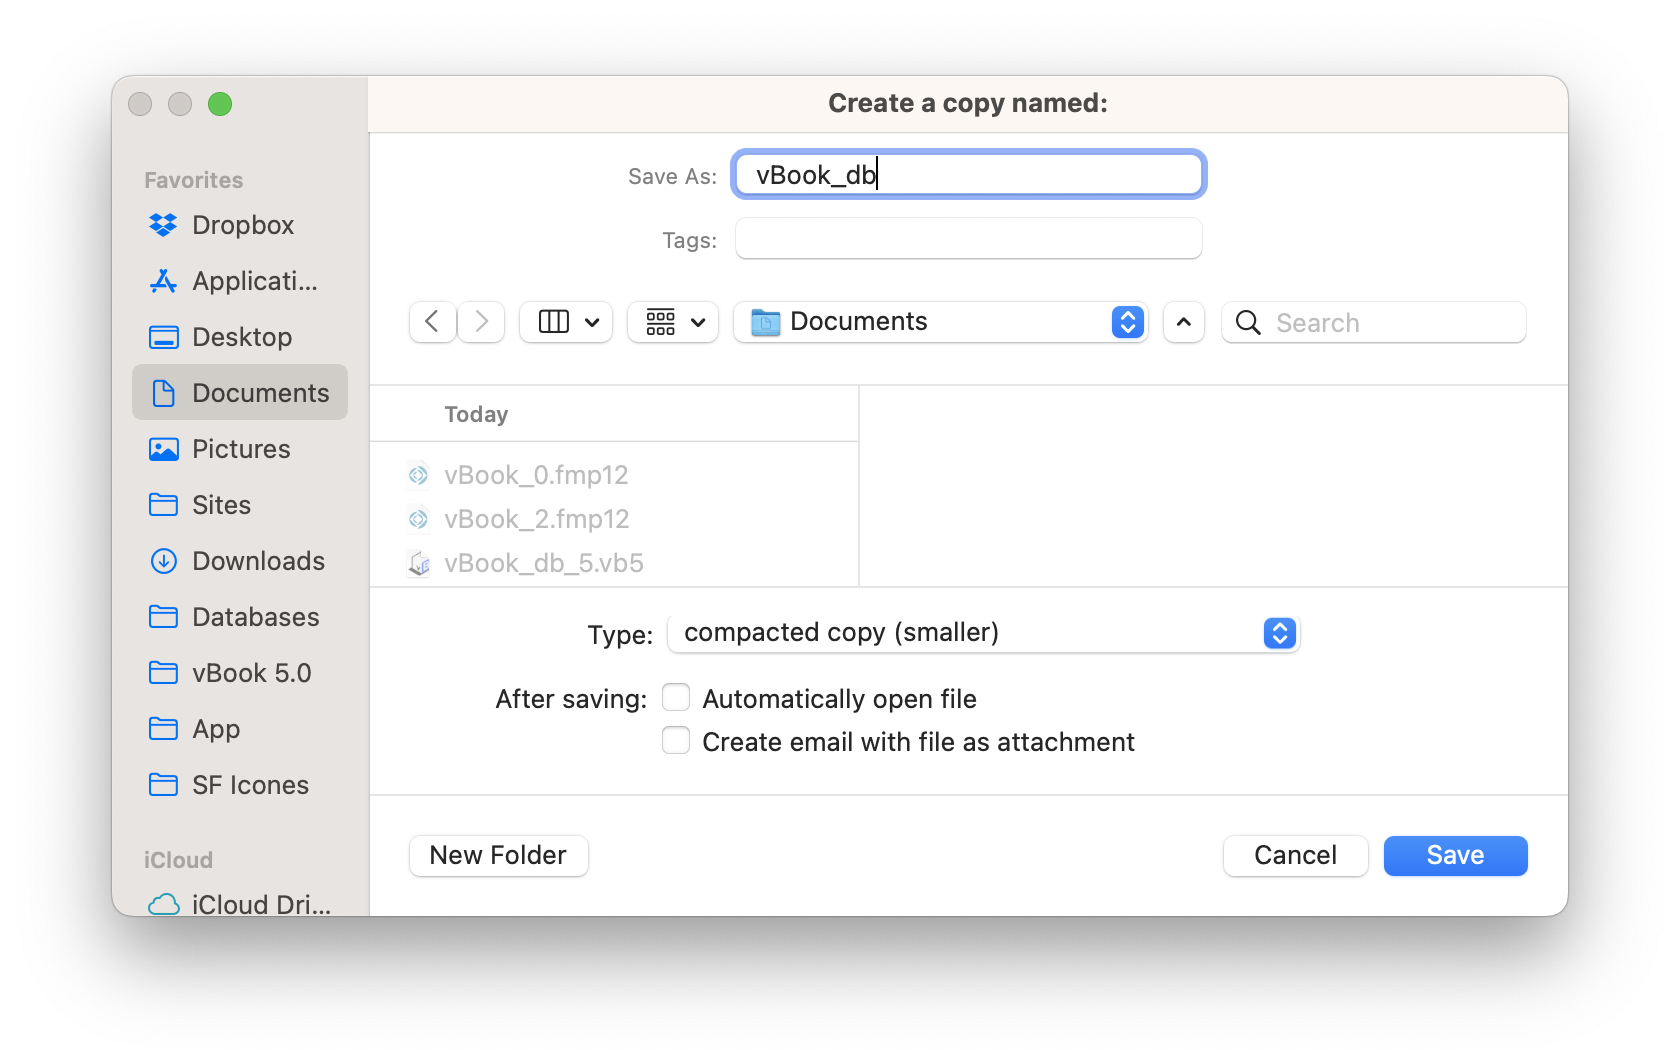
Go to File > Save a Copy as... in the menu bar.
In the field Save as: enter vBook_db.vb5. Delete the word Copy with the space before it.
Then select a location to save the copy. You can choose Desktop for more convenience.
In the field Type:, choose compacted copy (smaller). The choice of this type is important, because this is what reduces the overall size of the new file.
Click the button bouton .
Go to File > Show vBook Folder in the menu bar. This command opens the vBook v5 folder in macOS Finder or Windows File Explorer.
Go back to vBook and close it.
You can compare the sizes of the two vBook_db.vb5 files. The new compressed copy should be on the or wherever you selected in steps 2 and 3, while the original vBook_db file is inside the folder).
You must now copy or move the compressed (smaller) file inside the vBook v5 folder instead of the original file. You can replace it using drag and drop or copy and paste command. Confirm the replacement when the computer ask you to do so.
Reopen vBook.